Introduce
A grind box is an indispensable tool for any skater. Making a grind box is really a lot easier than you would imagine. It’s also a lot less expensive than buying one.
Today, Skateboard Cast will show you how to build a grind box for skateboarding in the simplest way possible with the fewest resources necessary.
Let’s read on to discover!
[toc]
What Is A Grind Box For Skateboarding?
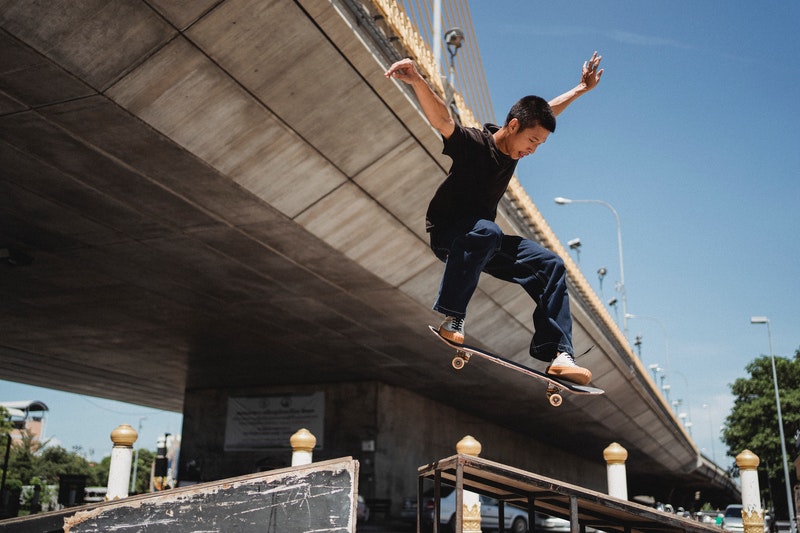
A grind box, also known as a “skate ledge,” is a common street skateboarding obstacle. You may come across grind boxes at almost every skatepark. It is typically the most common obstacle to skateboarding.
Learning ledge tricks is a wonderful way to enhance your skateboarding abilities and gain more confidence. Having grind boxes at home enables you to practice anytime you want.
Tricks on grind boxes can improve your skills
How To Build A Grind Box For Skateboard?
Here are the necessary steps in the method to build the grind boxes for skateboard:
- Prepare materials needed
- Cutting the legs
- Put the frame together
- Add the top
- Paint grind box
- Install the angle iron
Step 1: Prepare
Fortunately, all the components needed for making grind boxes are around your house. The preparation step may be simple.
Materials:
- 2 x 4” wood board
- Plywood
- Angle iron
- Screws
Equipment:
- Driver
- Drill
- Saw
- Pencil
- Tape measure
Step 2: Cut the legs
Start your project by cutting the legs on one of your 2 x 4s. You have to take a measurement of 9″ on the 2 x 4 to get the height you’ll want for the legs.
The grind box needs six 9-inch legs. After finishing the cutting job, you can move to the frame part.
Cut the 2 x 4 wood
Step 3: Put the frame together
To build the frame, align two 2 x 4s in a straight line. Then, put a leg between them at each end.
Next, you need to pre-drill two holes through the 2 x 4. Insert the screws to keep the wood board in place. This step needs repetition. You have to pre-drill all the 2 x 4 pieces.
Each end of the 2 x 4 now has two legs. This is where your frame’s bottom would be. It’s time to put the frame’s top element together.
Pre-drill and screw other 2 x 4 pieces to the top with the same method as before.
Now, you may finish the frame with the addition of the middle leg. To begin, measure the midpoint of your frame. Then, at both ends, pre-drill, then screw the middle leg into the center of the frame. Half of the frame is now complete. For the next frame, repeat the same steps above.
After you have screwed all the legs, you’ll have two similar frames that are waiting for the plywood to be placed on top.
Step 4: Add the top
The plywood should be 6 feet in length and 16″ in width. After cutting, lay it on the frame. You need to line the plywood up at both ends.
Start nailing the plywood to the frame in all the corners, as well as the center legs. If necessary, use more screws.
The next step is adding braces at the base of the frame. The two braces need to be 16″ long.
After trimming the braces, put them on the bottom of the frame at each end. The frame will be sturdy and solid after you insert the braces.
Step 5: Paint the grind box
Now your work has grind boxes form. This step is not compulsory. However, the painting coat serves as a weather barrier. Painting can also make your box more stunning. You should try it.
You may apply whatever paint you have on hand or go to the hardware shop to get some.
Painting the grind boxes is not compulsory but advisable
Step 6: Install the angle iron
In the last stage, you need to trim the angle iron to fit exactly on the ledge. This procedure can be hazardous since it creates a lot of sparks. Ensure you’re outside and far from anything combustible.
Wherever you buy the angle iron, you may have it cut to size.T his approach will save you money and time.
You need to pre-drill the screw holes. After that, secure the angle iron to the ledge. Create a pilot hole with a smaller drill bit.
Ensure you don’t drill through the iron with the bigger drill bit. The goal is to merely countersink the screw flush with the iron. It ensures that skateboard trucks may grind over without getting hooked up on the screw head.
Next, drill three screw holes on the top side of the angle iron and two on the side of the angle iron.
Set the iron on the ledge. Make sure it’s flush on both ends. The angle iron must be the last to screw.
After all the screwing tasks are done, you’ll have a DIY grind box.
Frequently Asked Questions
1. What is the ideal length for the grind box?
Typically, the grind boxes are 6 feet in length, 16″ in width, and 12″ in height. This is a good all-around size for practicing new tricks. It’s also easy to store in your backyard with the appropriate size.
2. How much is it to make the grind boxes for the skateboard?
About 70$ to 120$, depending on the materials you use and how to use them. Some skaters can make it with $20. If you want to save money, you need to be creative.
3. How much are the grind boxes for the skateboard?
A typical grind box may cost from $150 to $400. The cost varies in different sizes and materials. Many skaters choose to build one instead of spending a great amount of money.
| See more: |
Conclusion
We have shared with you some instructions on how to build a grind box for skateboarding. The process is simple to follow. With proper construction, you will have a solid tool to practice. It can also help you save lots of money.
Hopefully, you’ll find this article helpful.
Thank you for reading!
Reference:


